![[US ONLY] 8Pcs Stamping Plates Set](/images/shopbornpretty.shop/images/product/us-only-8pcs-stamping-plates-set-1.jpg)
[US ONLY] 8Pcs Stamping Plates Set
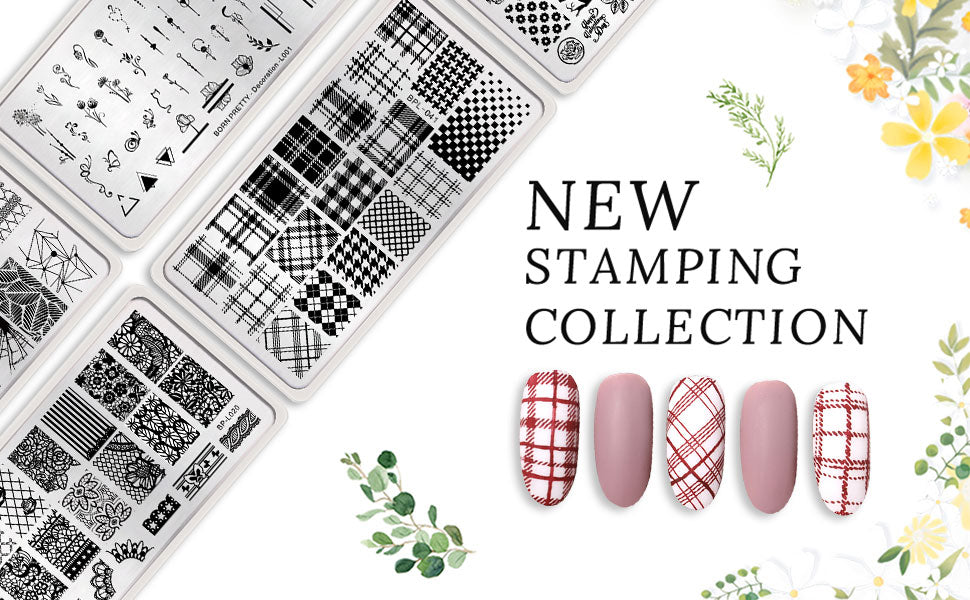
Stamping Instructions:
Step 1: Remove the blue protective film from the stamping plate.
Step 2: Apply stamping polish on the design.
Step 3: Make a scraper leaned over 45 degrees and scrape excessive polish off quickly and strongly from inside to outside.
Step 4: Immediately press the stamper with a gentle rolling motion to pick up the design. The image is transferred on the stamper .
Step 5: Stamp the image on your nail with a gentle rolling motion.The image is transferred on your nail.
Step 6: Repeat the above steps for all of your nails.
Step 7: Apply a protector nail art nail polish.
Step 8: After stamping, apply top coat for lasting wear.
More Images
![[US ONLY] 8Pcs Stamping Plates Set - Image 2](/images/shopbornpretty.shop/images/product/us-only-8pcs-stamping-plates-set-2.jpg)
![[US ONLY] 8Pcs Stamping Plates Set - Image 3](/images/shopbornpretty.shop/images/product/us-only-8pcs-stamping-plates-set-3.jpg)
![[US ONLY] 8Pcs Stamping Plates Set - Image 4](/images/shopbornpretty.shop/images/product/us-only-8pcs-stamping-plates-set-4.jpg)
![[US ONLY] 8Pcs Stamping Plates Set - Image 5](/images/shopbornpretty.shop/images/product/us-only-8pcs-stamping-plates-set-5.jpg)
![[US ONLY] 8Pcs Stamping Plates Set - Image 6](/images/shopbornpretty.shop/images/product/us-only-8pcs-stamping-plates-set-6.jpg)
![[US ONLY] 8Pcs Stamping Plates Set - Image 7](/images/shopbornpretty.shop/images/product/us-only-8pcs-stamping-plates-set-7.jpg)
![[US ONLY] 8Pcs Stamping Plates Set - Image 8](/images/shopbornpretty.shop/images/product/us-only-8pcs-stamping-plates-set-8.jpg)
![[US ONLY] 8Pcs Stamping Plates Set - Image 9](/images/shopbornpretty.shop/images/product/us-only-8pcs-stamping-plates-set-9.jpg)
[US ONLY] 8Pcs Stamping Plates Set
Stamping Instructions:
Step 1: Remove the blue protective film from the stamping plate.
Step 2: Apply stamping polish on the design.
Step 3: Make a scraper leaned over 45 degrees and scrape excessive polish off quickly and strongly from inside to outside.
Step 4: Immediately press the stamper with a gentle rolling motion to pick up the design. The image is transferred on the stamper .
Step 5: Stamp the image on your nail with a gentle rolling motion.The image is transferred on your nail.
Step 6: Repeat the above steps for all of your nails.
Step 7: Apply a protector nail art nail polish.
Step 8: After stamping, apply top coat for lasting wear.
Product Information
Product Information
Shipping & Returns
Shipping & Returns
Description
Stamping Instructions:
Step 1: Remove the blue protective film from the stamping plate.
Step 2: Apply stamping polish on the design.
Step 3: Make a scraper leaned over 45 degrees and scrape excessive polish off quickly and strongly from inside to outside.
Step 4: Immediately press the stamper with a gentle rolling motion to pick up the design. The image is transferred on the stamper .
Step 5: Stamp the image on your nail with a gentle rolling motion.The image is transferred on your nail.
Step 6: Repeat the above steps for all of your nails.
Step 7: Apply a protector nail art nail polish.
Step 8: After stamping, apply top coat for lasting wear.